
A Guide to Shower Tile Installation
1,043 Views
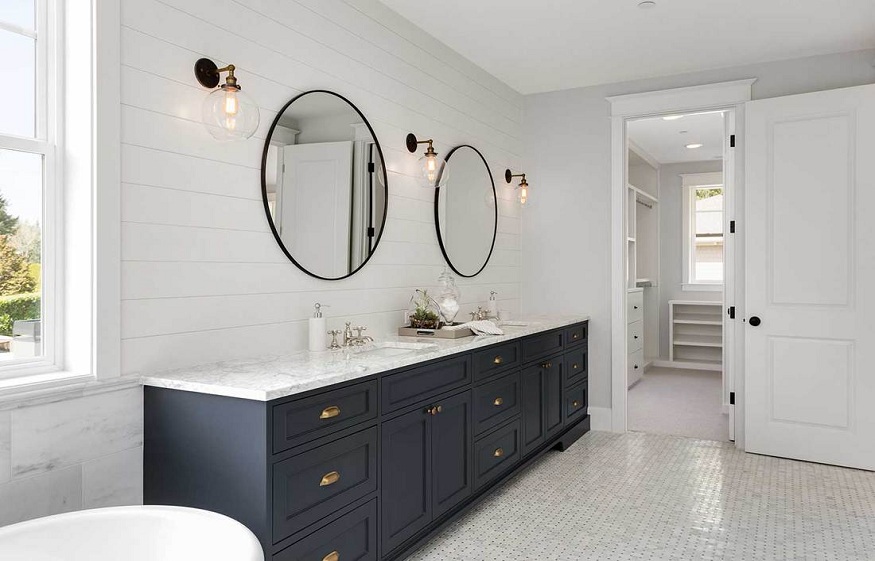
Installing shower tile is a great way to add visual interest and value to your shower. While it may seem daunting, installing shower tile is fairly easy and can be completed in just a few hours with the right tools and materials. This guide will show you everything you need to know about shower tile installation, from choosing the right tiles to properly preparing your shower for tile installation.
Choosing the Right Tiles for Your Shower
The first step in any tile installation project is choosing the right tiles. When it comes to showers, there are a few things you’ll want to keep in mind. First, consider the overall style of your bathroom. If you have a modern bathroom, you’ll want to choose shower tiles that complement that style. Conversely, if you have a more traditional bathroom, you may want to opt for classic subway tiles or hexagonal mosaic tiles.
Once you’ve decided on the general style of tile you want, it’s time to start thinking about the material. Shower tiles are typically made from ceramic, porcelain, or natural stone. Each material has its own benefits and drawbacks, so choosing the one that’s right for your needs is important.
Ceramic tiles are a popular choice for showers because they’re affordable and easy to maintain. Porcelain tiles are more expensive, but they’re also more durable and resistant to stains. Natural stone tiles, such as marble or granite, are the most expensive option, but they offer a luxurious look and feel.
Preparing Your Shower for Tile Installation
Once you’ve chosen the perfect tiles for your shower, it’s time to prepare your shower for installation. The first step is to remove any existing shower fixtures, such as shower doors, soap dishes, or towel racks. Next, you’ll need to clean the shower surface with a mild detergent and water. Rinse the surface thoroughly and allow it to dry completely before proceeding.
If your shower has cracks or holes, it is time to repair them. Small cracks can be filled with caulk, and larger holes may need to be patched with drywall or plaster. Once all the repairs have been made, you’re ready to begin tiling your shower.
Installing Shower Tiles
The first step in installing shower tiles is to create a level surface for the tile to adhere to. This can be done by spreading a layer of thinset mortar on the shower wall with a notched trowel. Be sure to hold the trowel at a consistent angle and use even pressure to avoid creating voids in the thinset.
Once the thin-set has been applied, it’s time to start setting the tile. Begin in one corner of the shower and work your way out. Press each tile firmly into the thinset, careful not to slide or shift the tile as you set it. Use a level to check that each row of tile is level as you go.
If you’re using mosaic tiles, you’ll need to apply them in small sections, setting each tile into the thin-set. Once all the tiles have been set, allow the thinset to cure for at least 24 hours before grouting the tile.
Consult Metro Tile when thinking about tiling your shower. They are tile experts and will be able to guide you through the entire process!


More Stories
Tiling Magic: The Hidden Tiling ChoiceStrategies That Make a Home Feel Right for Years
Tiling is a critical foundational element when it comes to rejuvenating your home. However, homeowners can easily succumb to paralyzing...
Why Choose Blade Hand Dryers For Your Bathroom Space?
In the dynamic landscape of restroom technology, blade hand dryers stand as a beacon of innovation and efficiency. Renowned for...
Beyond Surface Choices: Why Smart Homeowners Are Rethinking Tile Systems Entirely
For years, homeowners approached tile like fashion; picking colors and patterns under showroom lights. The industry sold tile as decoration...
5 Things to Consider before buying an Air Purifier
Looking to buy an air purifier but confused by all the options out there? Don’t worry, choosing the right one...
Why New Construction Is Winning Over Texas Homebuyers
Texas families keep choosing new builds over existing houses, and the trend just gets stronger. Forget the obvious stuff like...
Evaluating Sound Barrier Fencing for Boise Homes
Traffic noise in Boise is a concern across neighborhoods close to I-84, Eagle Road, State Street, and Chinden Boulevard. If...